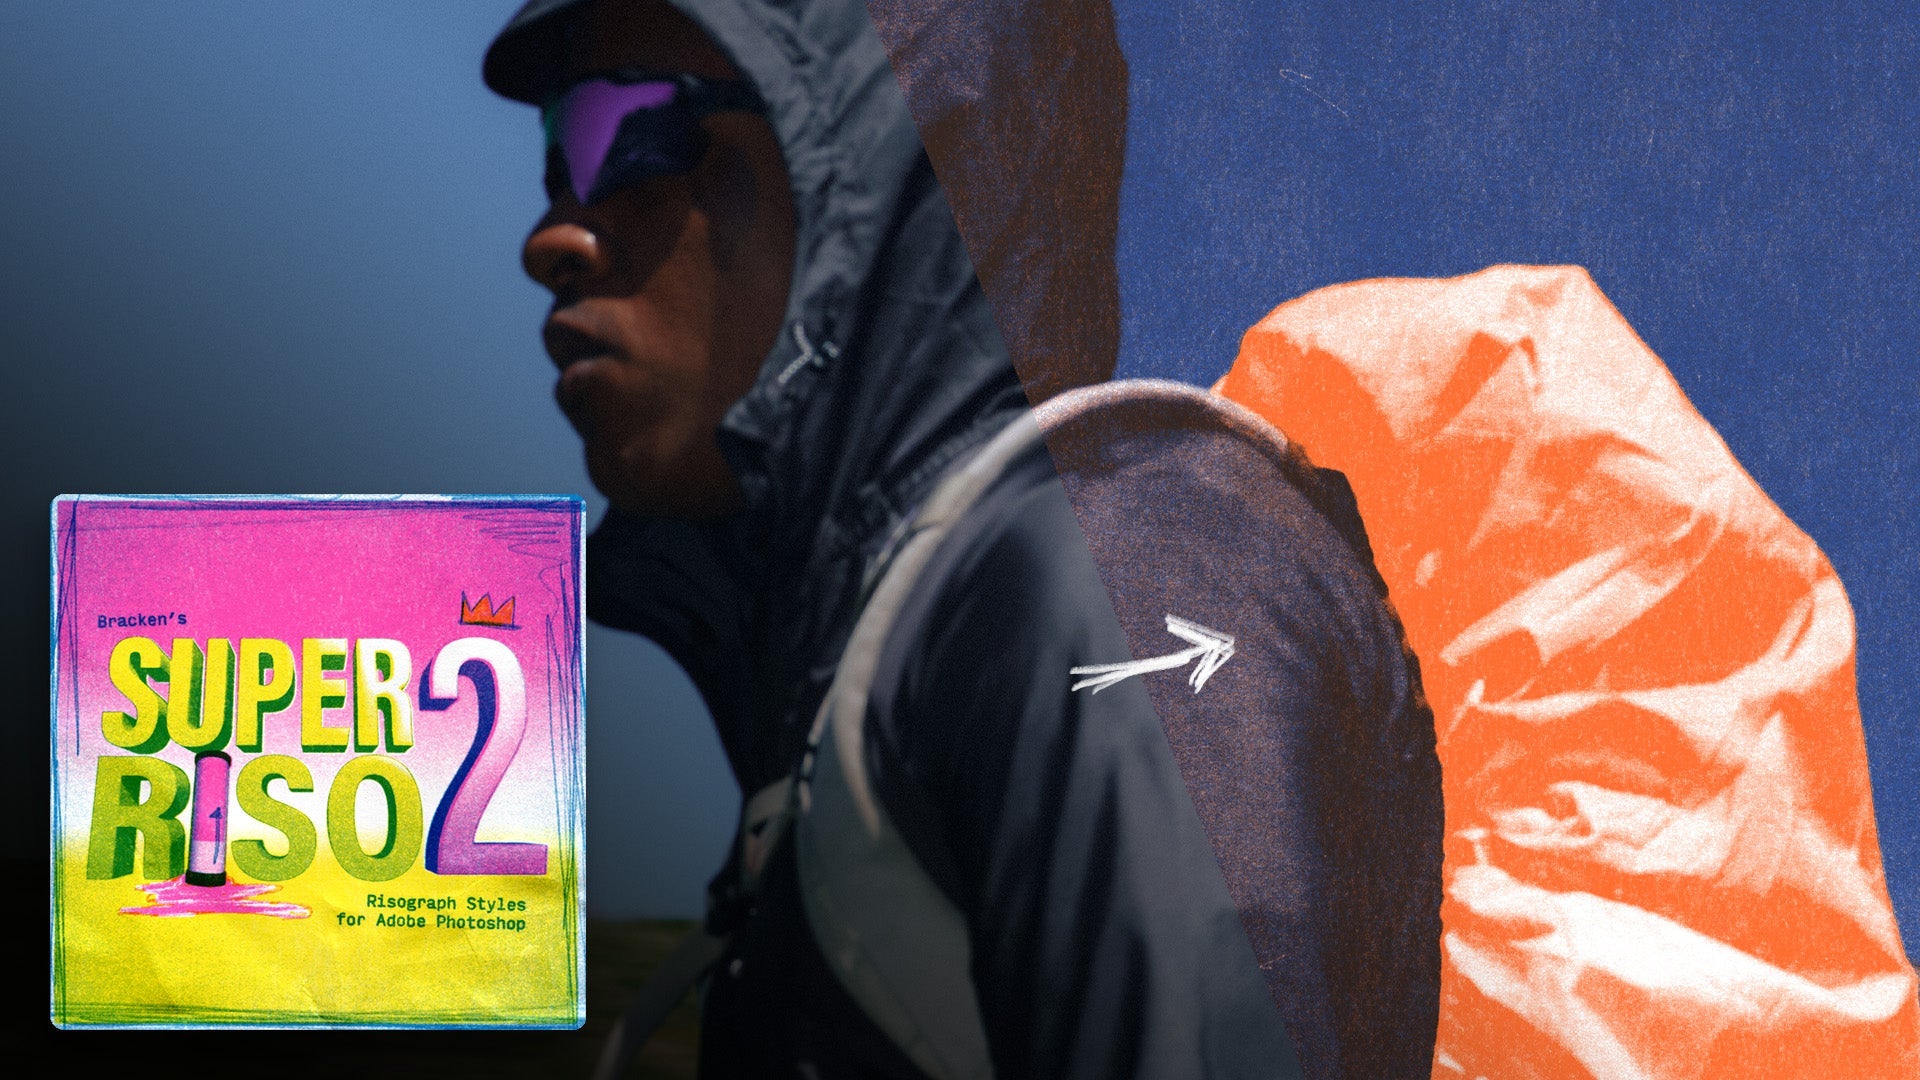
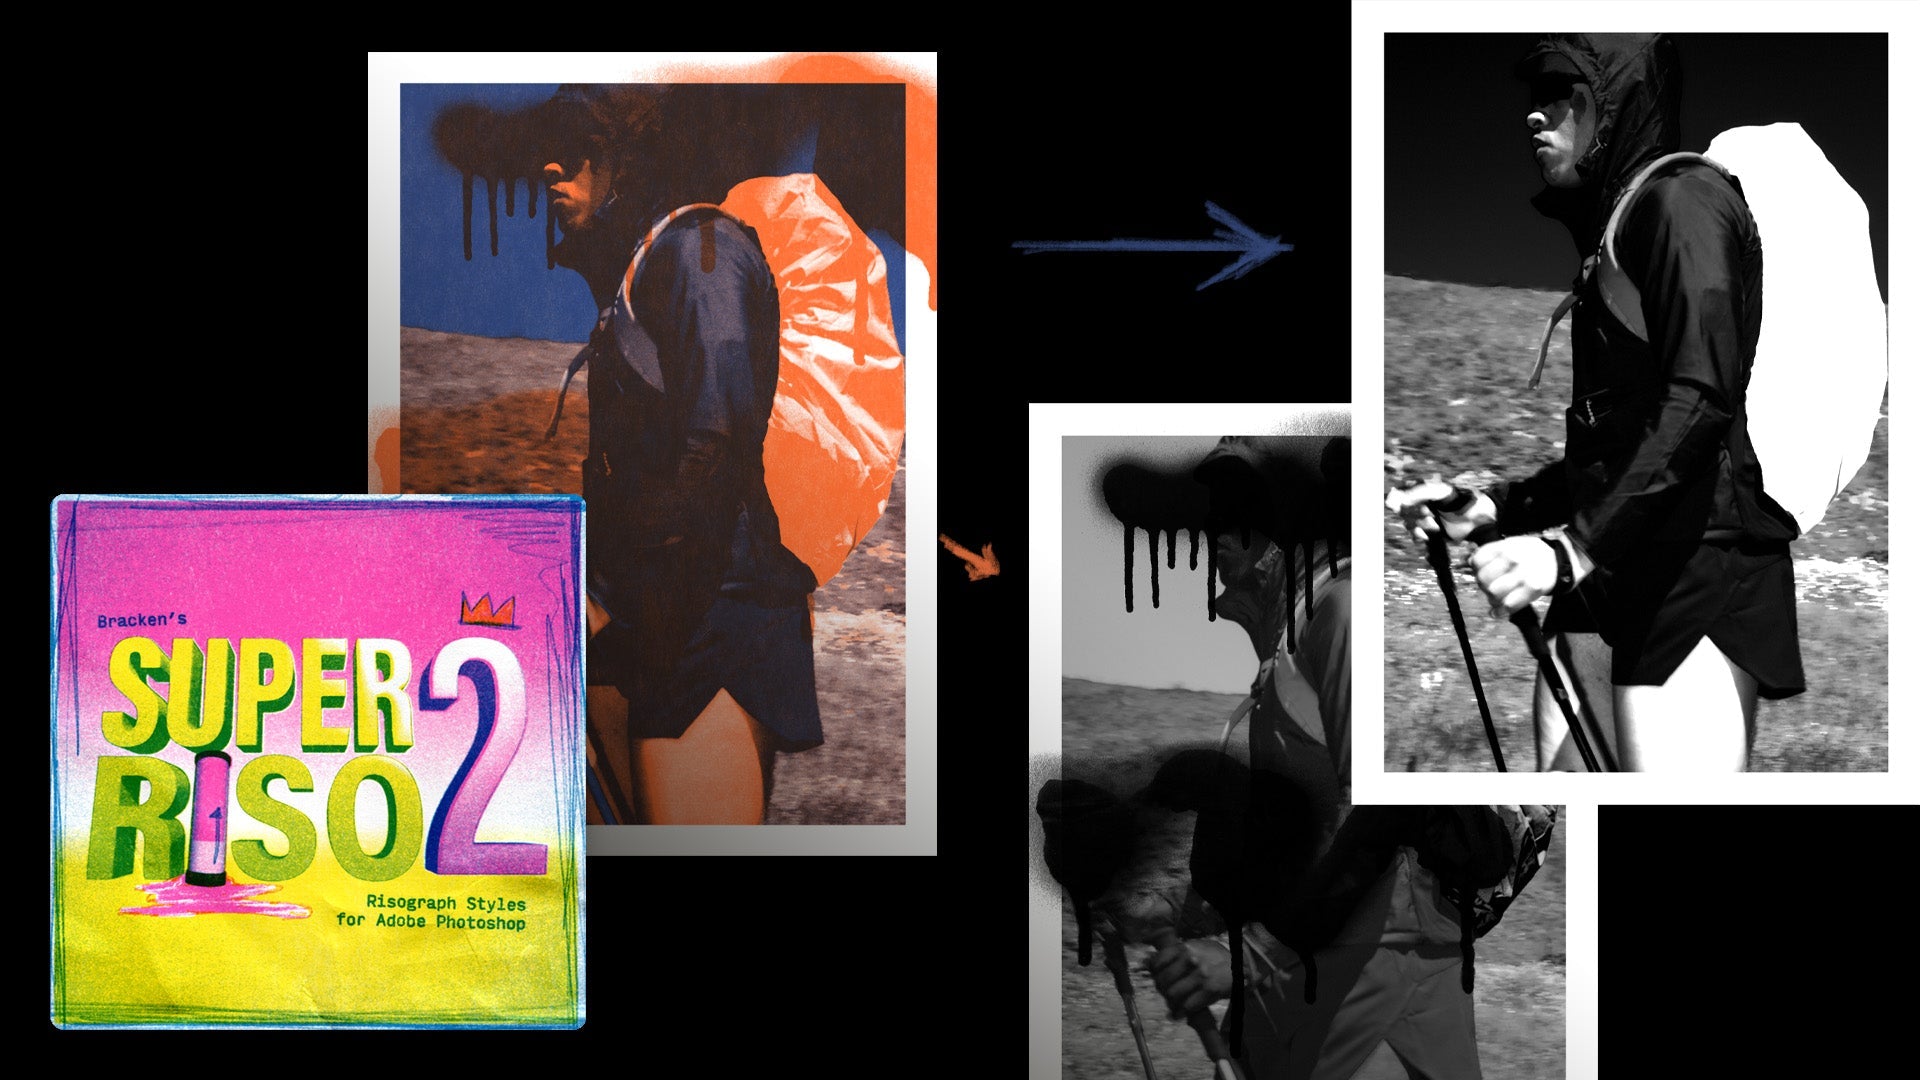
Using the Actions to setup Super Riso 2
1. Start Fresh with Actions 0:01
-
Open the Super RISO 2 actions panel.
-
Switch to button mode for easier navigation.
2. Set Up Two-Color Print 0:40
-
Choose between two setup options: with help or without help.
-
If using the help option, follow the dialog prompts.
3. Organize Artwork 1:08
-
In this example, copy the same image into both artwork groups as instructed by the dialog.
4. Apply Presets 1:36
-
Select a preset for a 300 DPI document.
-
Observe changes in channel shift and ink colour groups.
5. Explore Different Presets 2:06
-
Click through various presets to see different colour combinations.
-
Understand that these presets are just starting points.
6. Adjust Artwork Non-Destructively 2:28
-
Move artwork and add extra elements as needed.
-
Use the black and white filter to recover details.
7. Maintain Flexibility in Design 3:14
-
Add layers, brush strokes, and adjustment layers without losing the RISO effect.
-
Ensure group names remain unchanged for actions to work.
8. Preview Color Combinations 3:51
-
Quickly preview different ink color combinations.
-
Adjust colors based on printer specifications.
9. Finalize Colour Choices 4:00
-
Change the colour in the ink colour group to finalize your design.
-
Confirm that you are working within the correct colour group.