Exporting RISO Print Files from Digital Designs
1. Review Your Design 0:00
-
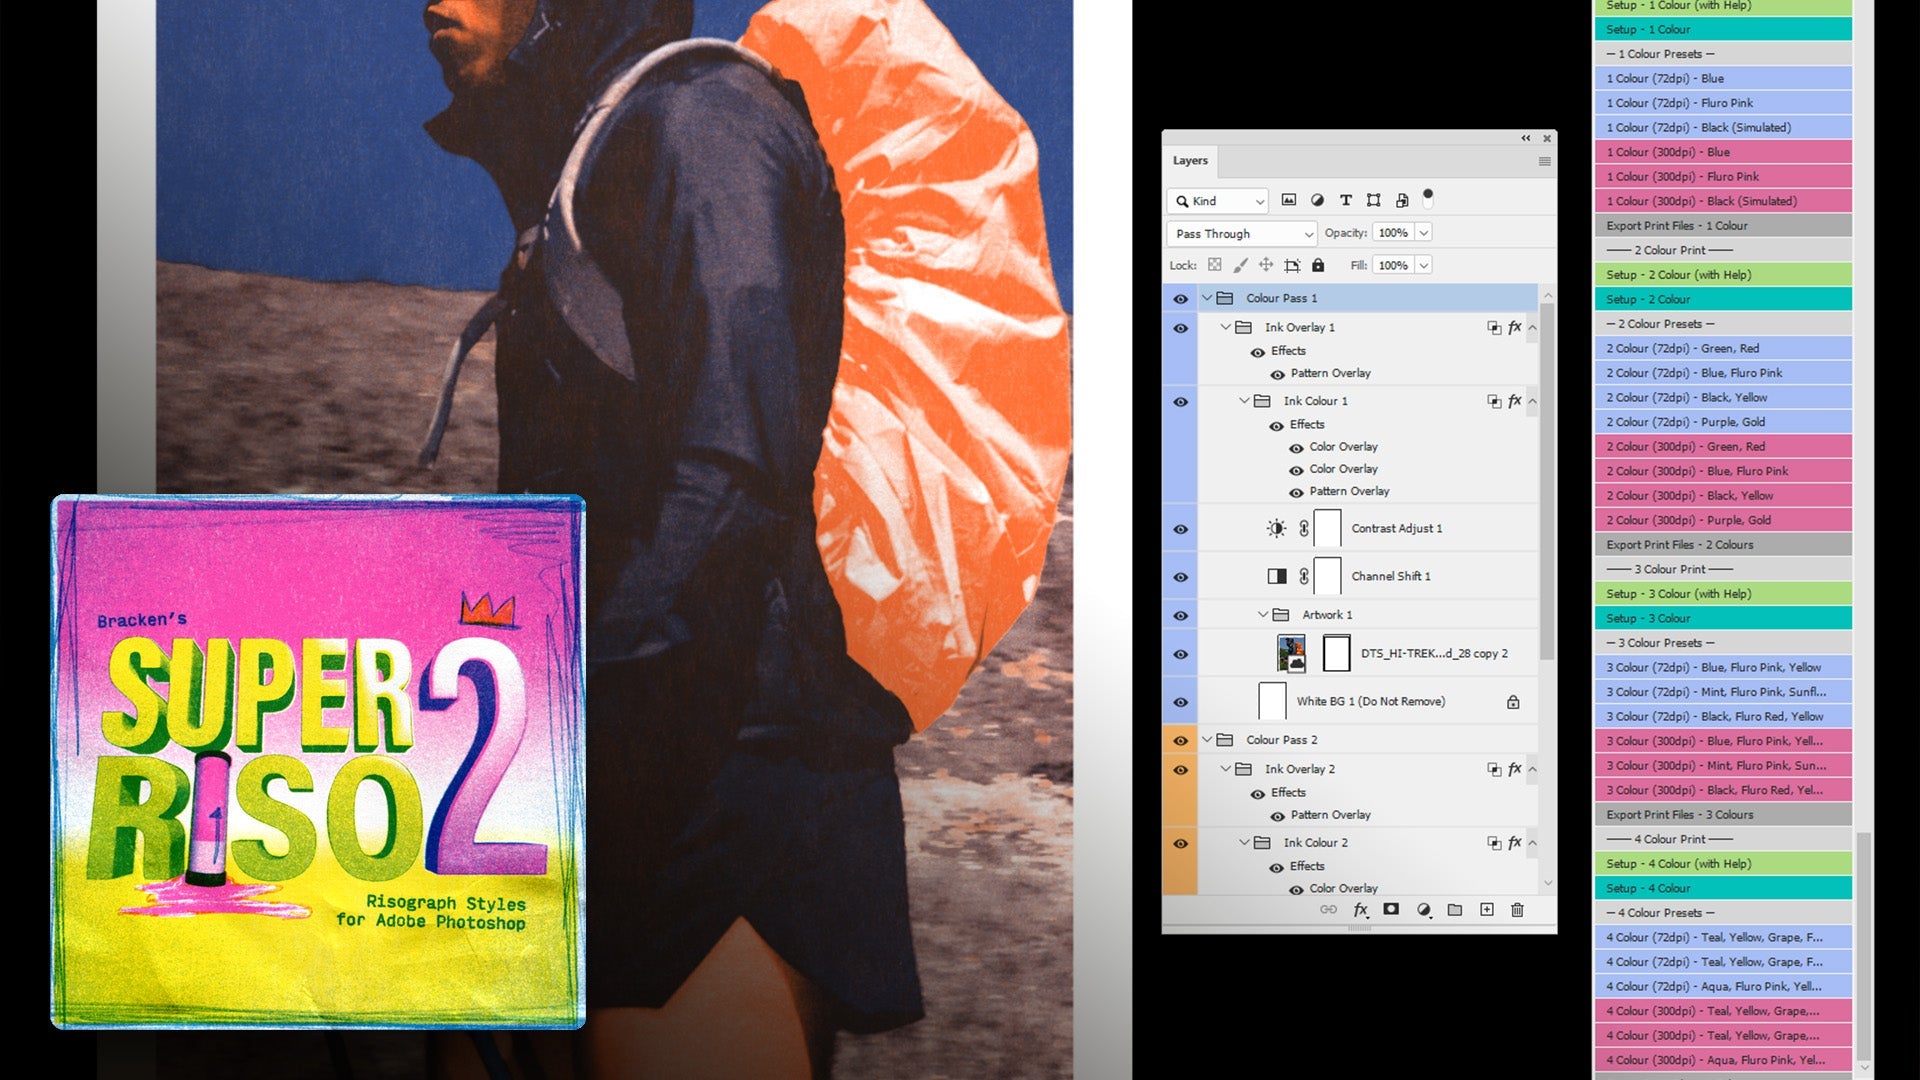
Ensure you are satisfied with your design, which includes different color passes (e.g., orange and blue).
-
Confirm that your document is set to 300 DPI and is in the correct size (This one is A3).
2. Export Print Files 0:21
-
Locate the 'export print files' action at the bottom of the colour presets.
-
Click on it to initiate the export process.
3. Check the Output 0:36
-
A message will confirm the export without affecting the original artboard or layers.
-
A new group called 'print files' will appear at the top of your layers panel.
4. View Black and White Images 0:46
-
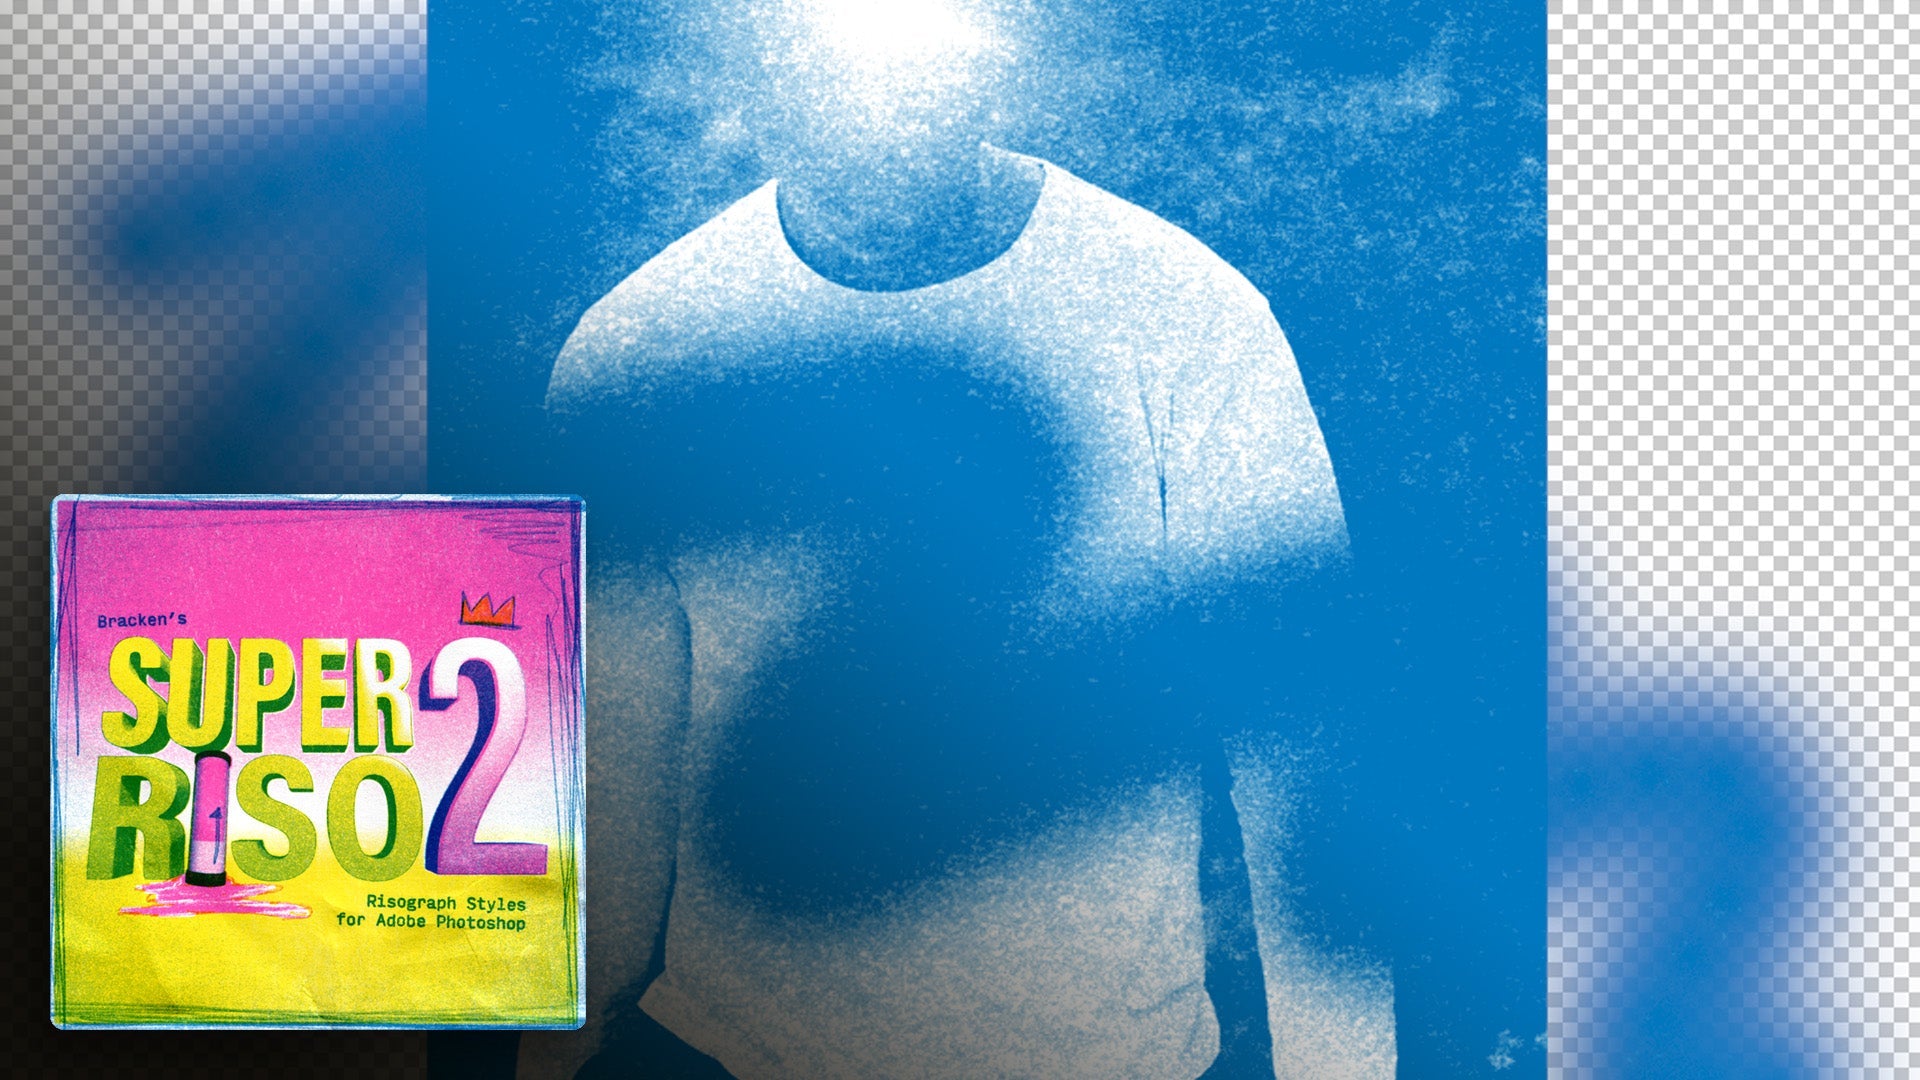
Open the 'print files' group to see the exported black and white images.
-
Understand that these images represent how the colours will print in RISO.
5. Understand RISO Printing Nuances 1:11
-
Recognize that the printed output may differ from the digital version due to ink and paper variations.
6. Prepare for Printing 1:39
-
Ensure you know the file format required by your RISO printer (e.g., greyscale PDF, JPEG).
-
Confirm that the exported files maintain 300 DPI.
7. Finalize Your Files 2:13
-
Take responsibility for ensuring the quality of your print files.
-
Use the exported files to create physical prints, embracing the tactile experience of printing.
8. Decide on Your Approach 2:39
-
Choose whether to pursue physical printing or continue creating digitally.