Getting Started with Super Riso 2
1. Install Super RISO Styles 0:00
-
Ensure Super RISO styles are installed.
-
Familiarize yourself with the available groups and colours.
2. Understand Ink Colour Mapping 0:40
-
Create a gradient from black to white.
-
Click on any layer and apply RISO styles to see the effect of grain and ink colour.
-
Black represents solid ink colour (e.g., 100% green).
3. Use 300 DPI Layer Styles 1:01
-
Check if you are working in a 300 DPI document.
-
Apply styles from the 300 DPI layer styles.
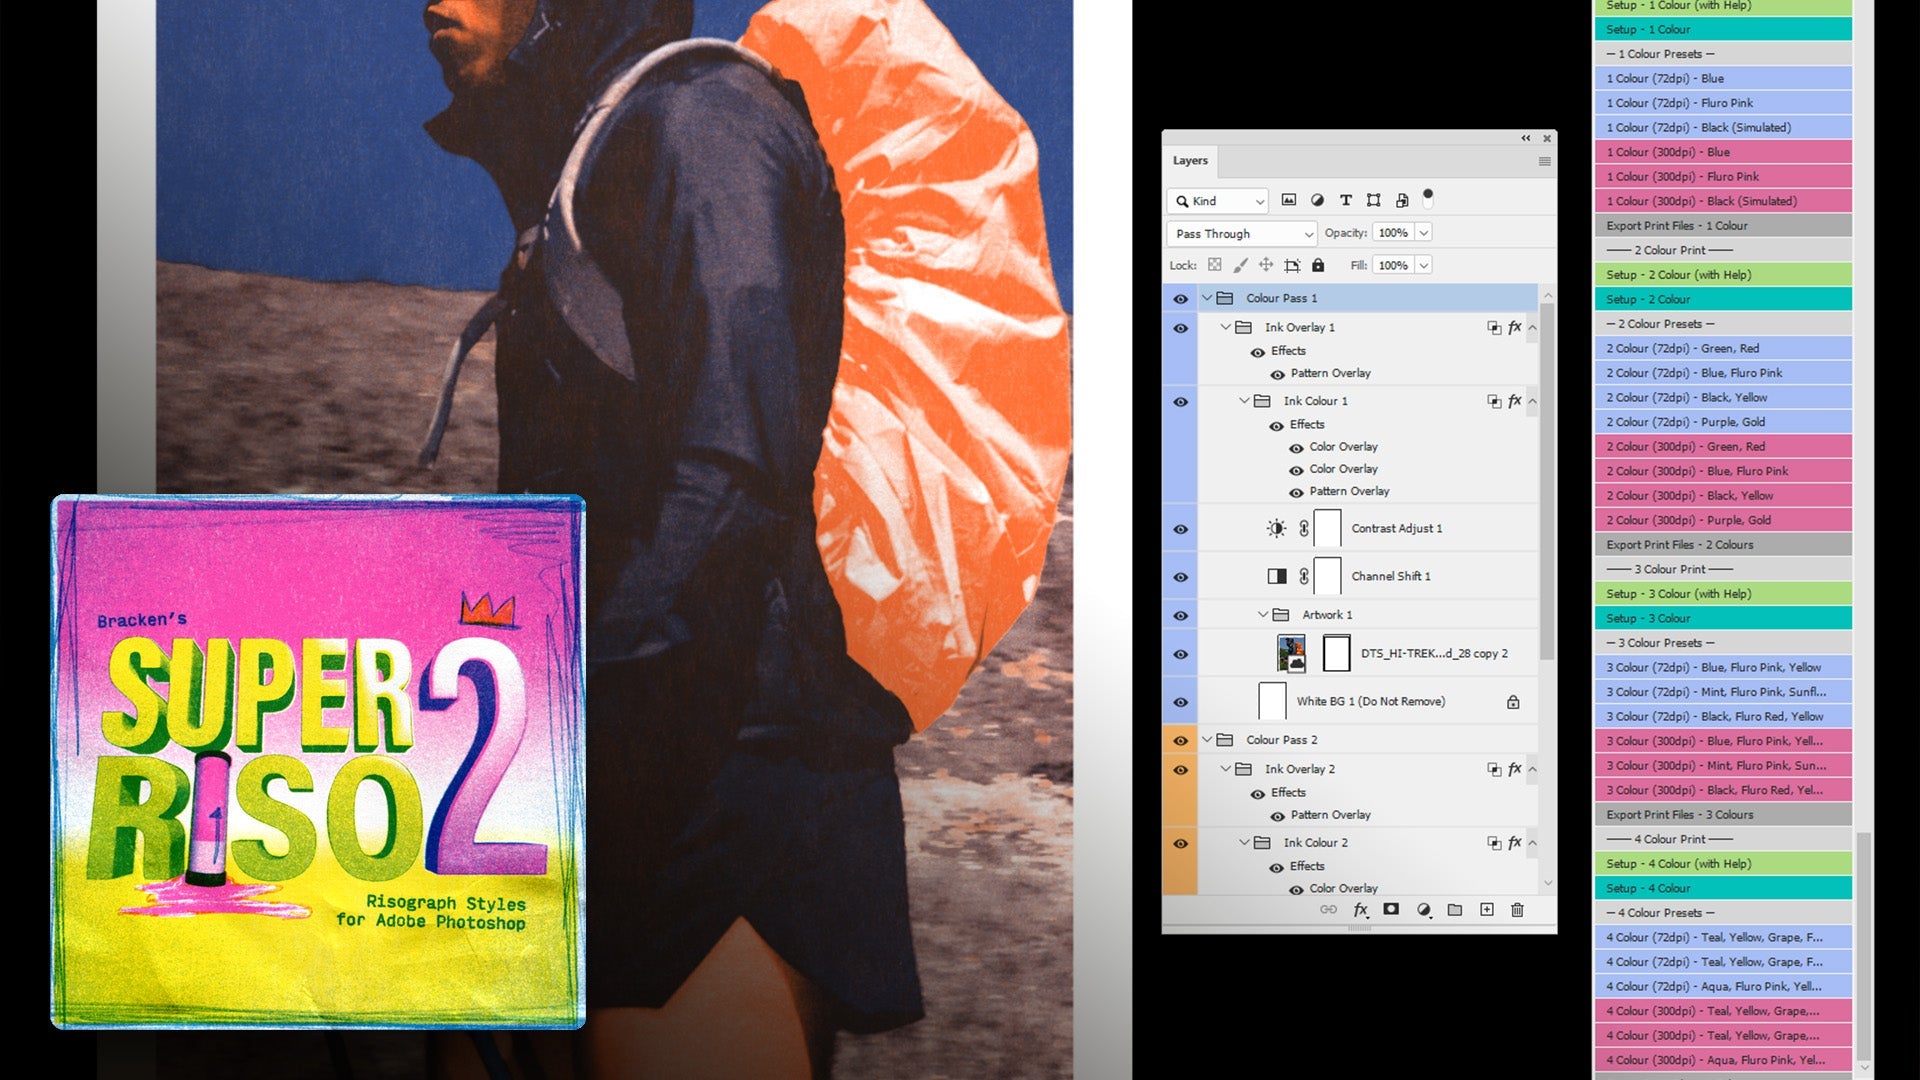
4. Group Layers for Easier Management 1:26
-
Group layers (Ctrl/Command + G) and name it (e.g., 'Ink Colour').
-
Apply RISO styles to the entire group.
5. Add Ink Breakup Effect 2:19
-
Create a new group for ink overlay (Ctrl/Command + G).
-
Select an ink overlay style to add texture and breakup.
6. Adjust Ink Overlay Intensity 2:58
-
Experiment with different overlay styles (e.g., lighten modes).
-
Choose a subtle effect to enhance the image.
7. Use Black and White Filter for Better Quality 3:23
-
Apply a black and white filter to improve grain quality.
-
Adjust values in the filter to manipulate ink density.
8. Create a Two-Colour Print 4:04
-
Duplicate the entire group (Ctrl/Command + J).
-
Change the ink colour in the duplicated group to a different colour (e.g., red or orange).
9. Adjust Black and White Filter for New Colour 4:28
-
Modify the black and white filter settings to enhance the new colour.
-
Raise or lower specific colour channels to achieve desired effects.
10. Adjust Pattern Overlay for Realism 5:03
-
If overlays are identical, double-click on the pattern overlay to adjust its position.
-
Ensure patterns do not completely overlap for a more realistic look.
11. Colour Code Layers for Clarity 5:43
-
Right-click on groups and select the ink colour for easy identification.
-
Helps in managing and tweaking layers effectively.