Fixing Transparency Issues in Super Riso Layers
1. Introduction to Transparency Issues 0:00
-
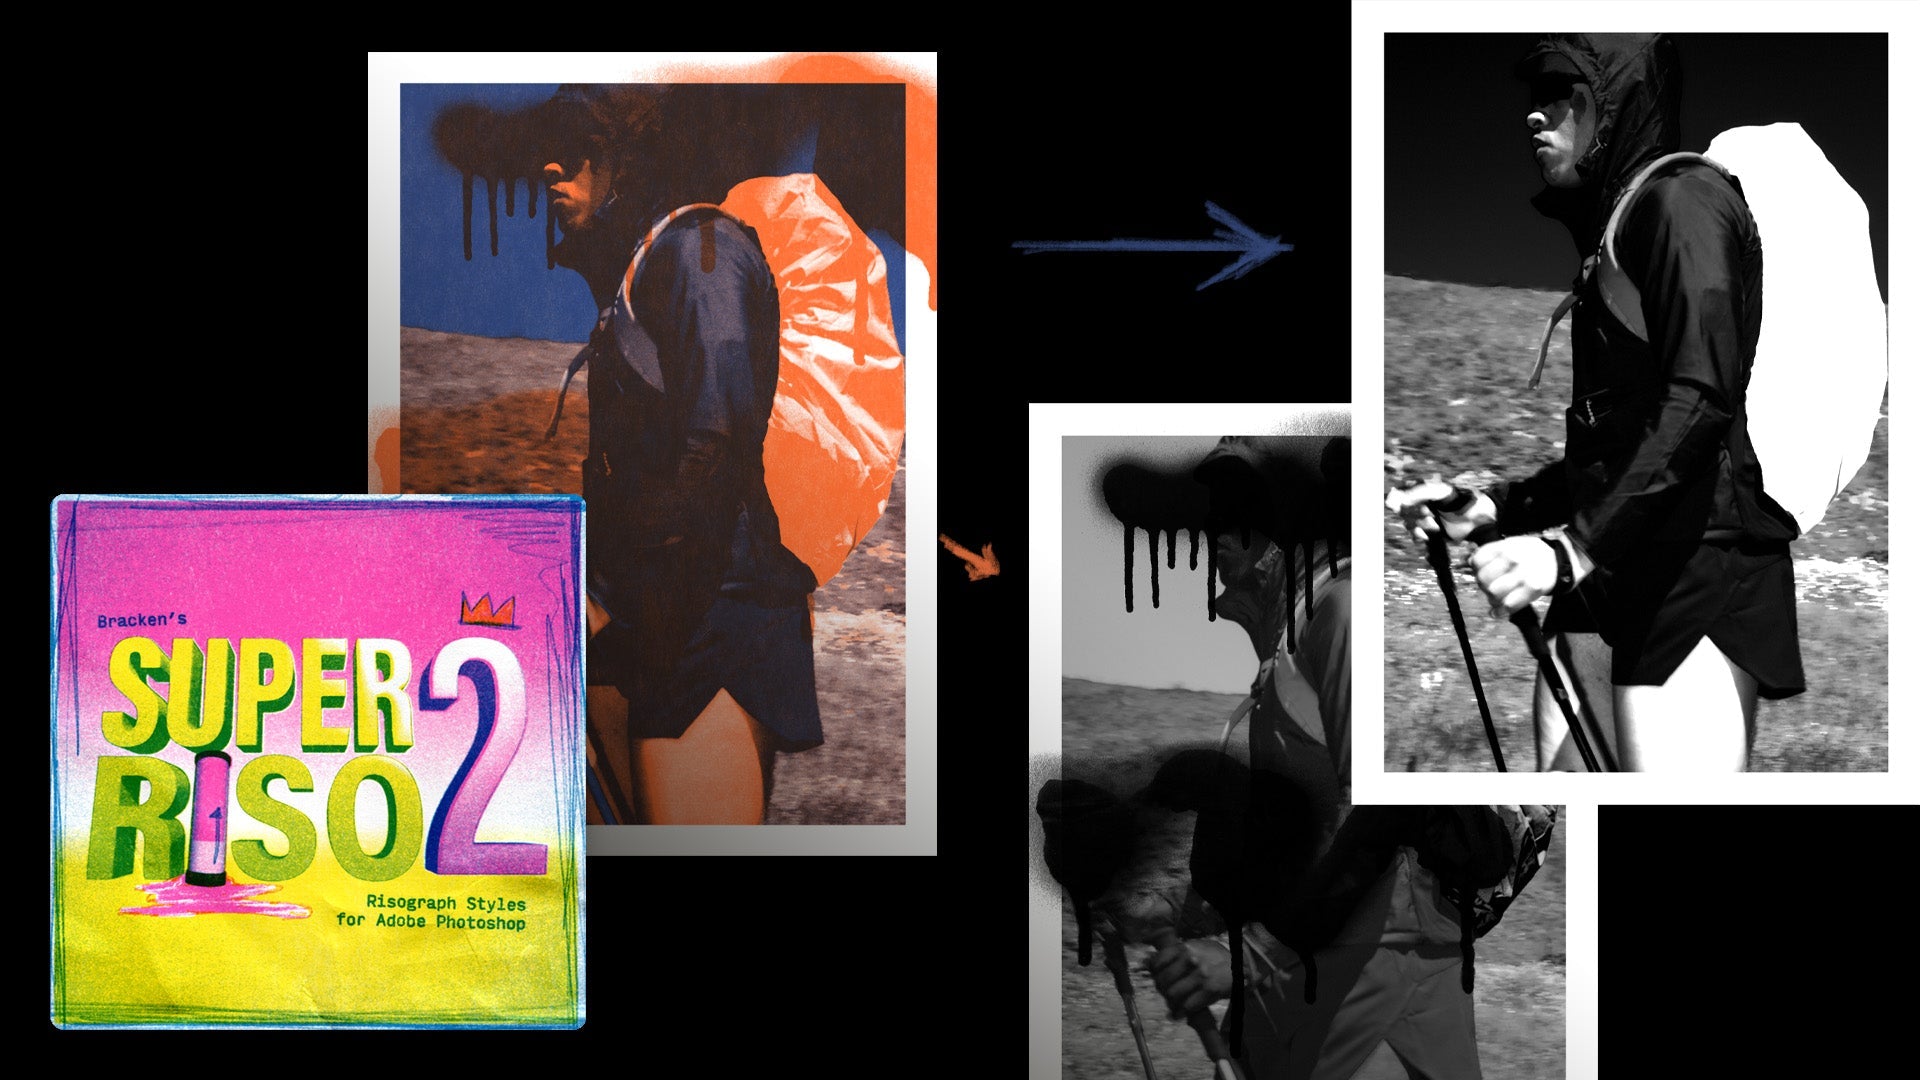
Discusses a common issue with transparency in image editing.
-
Example: An image with Super Riso applied and an ink overlay.
2. Observing the Problem 0:12
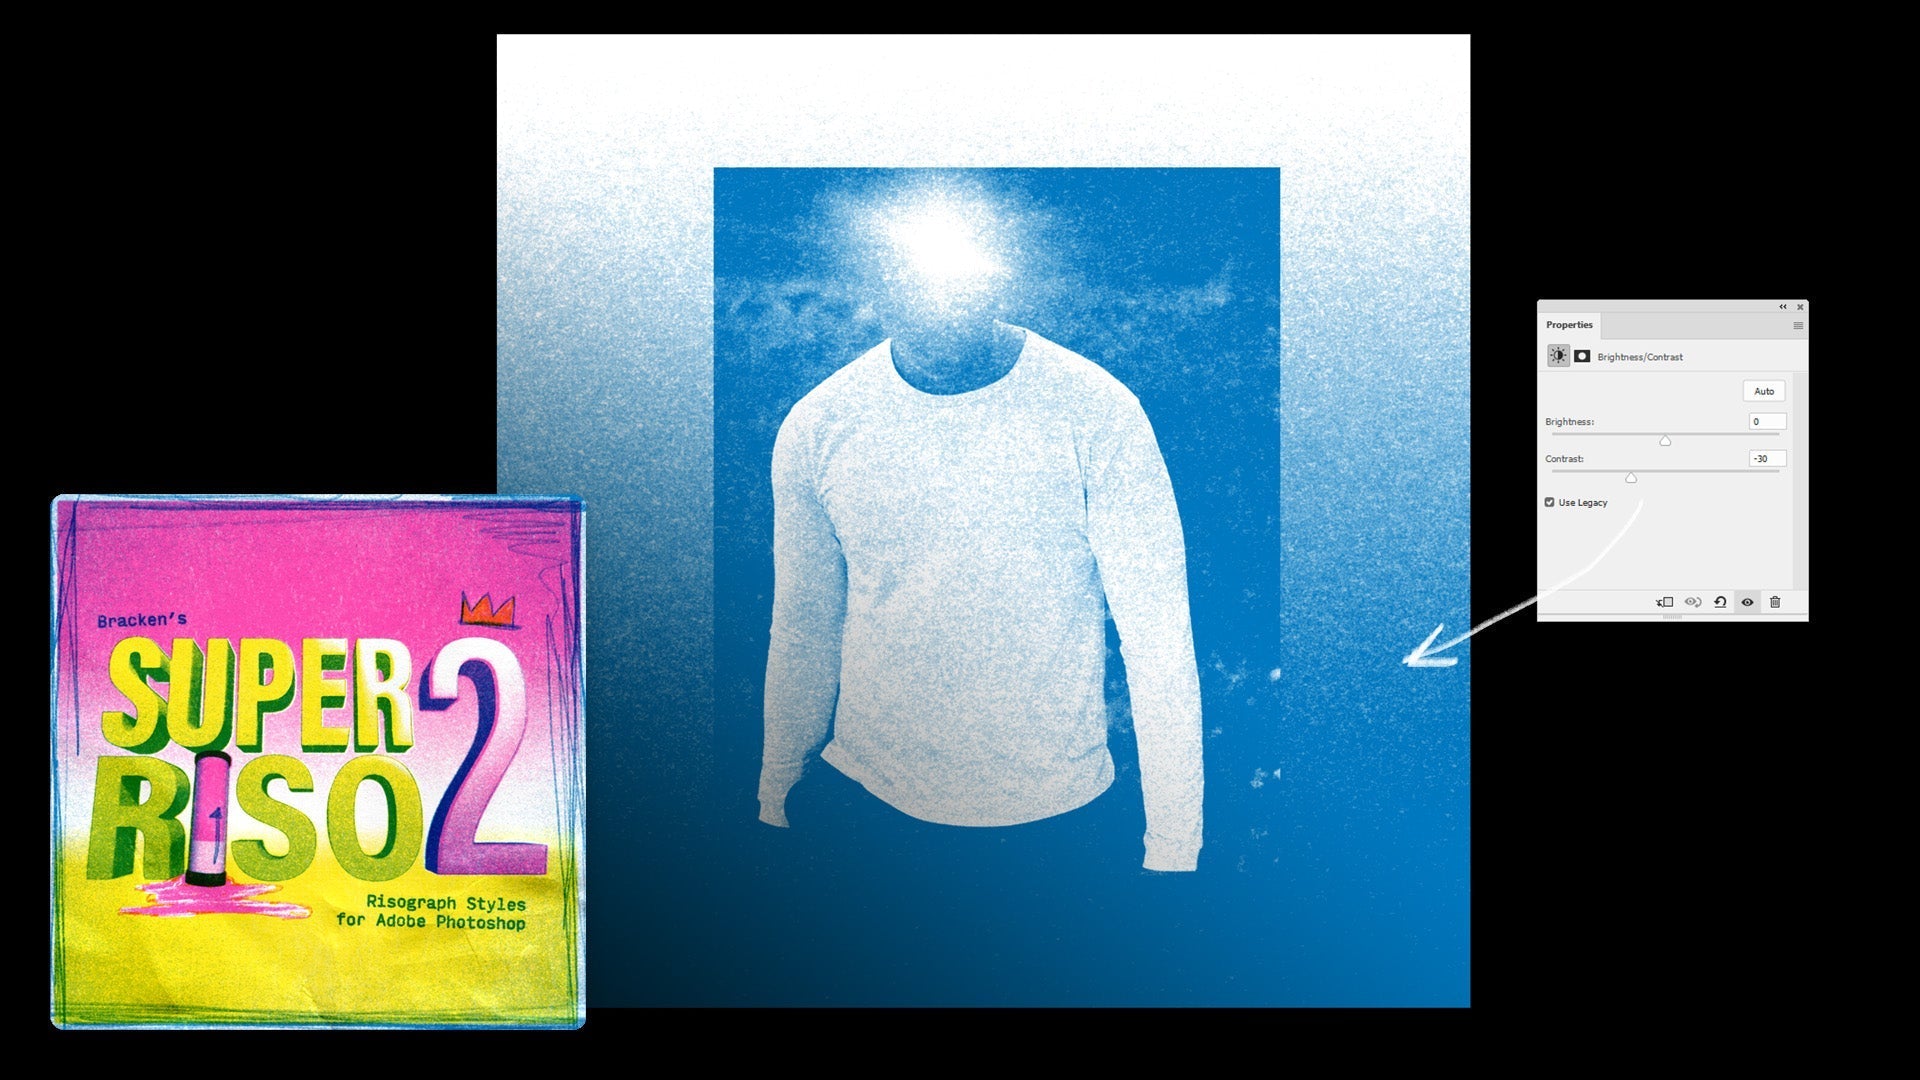
-
When brushing on the image, the expected grain effect is visible.
-
However, when going outside the image, the effect appears faded and weird.
3. Understanding the Cause 0:22
-
The issue arises because the image is on a transparent background.
-
Super Riso does not function properly with transparency.
4. Quick Fix for the Issue 0:37
-
Create a new layer by hitting Shift + Backspace.
-
Select 'white' in the fill options and click OK.
5. Layer Arrangement 0:46
-
Move the newly created white layer to the bottom of the super ISO group.
-
This allows effects above it to work properly, even with transparency.
6. Demonstrating the Fix 1:04
-
Removing the white layer shows the natural fade of the brush.
-
Adding the white layer back restores the super ISO grain effect.
7. Importance of the White Background Layer 1:18
-
When setting up artwork, ensure to keep the white background layer.
-
The layer is crucial for proper application of styles.
8. Conclusion 1:36
-
Removing the white background layer leads to undesirable faded effects.
-
Always follow the guideline to keep the white background layer for optimal results.