Enhancing Artwork Contrast with Adjustment Layers
1. Introduction to Contrast Adjustment 0:00
-
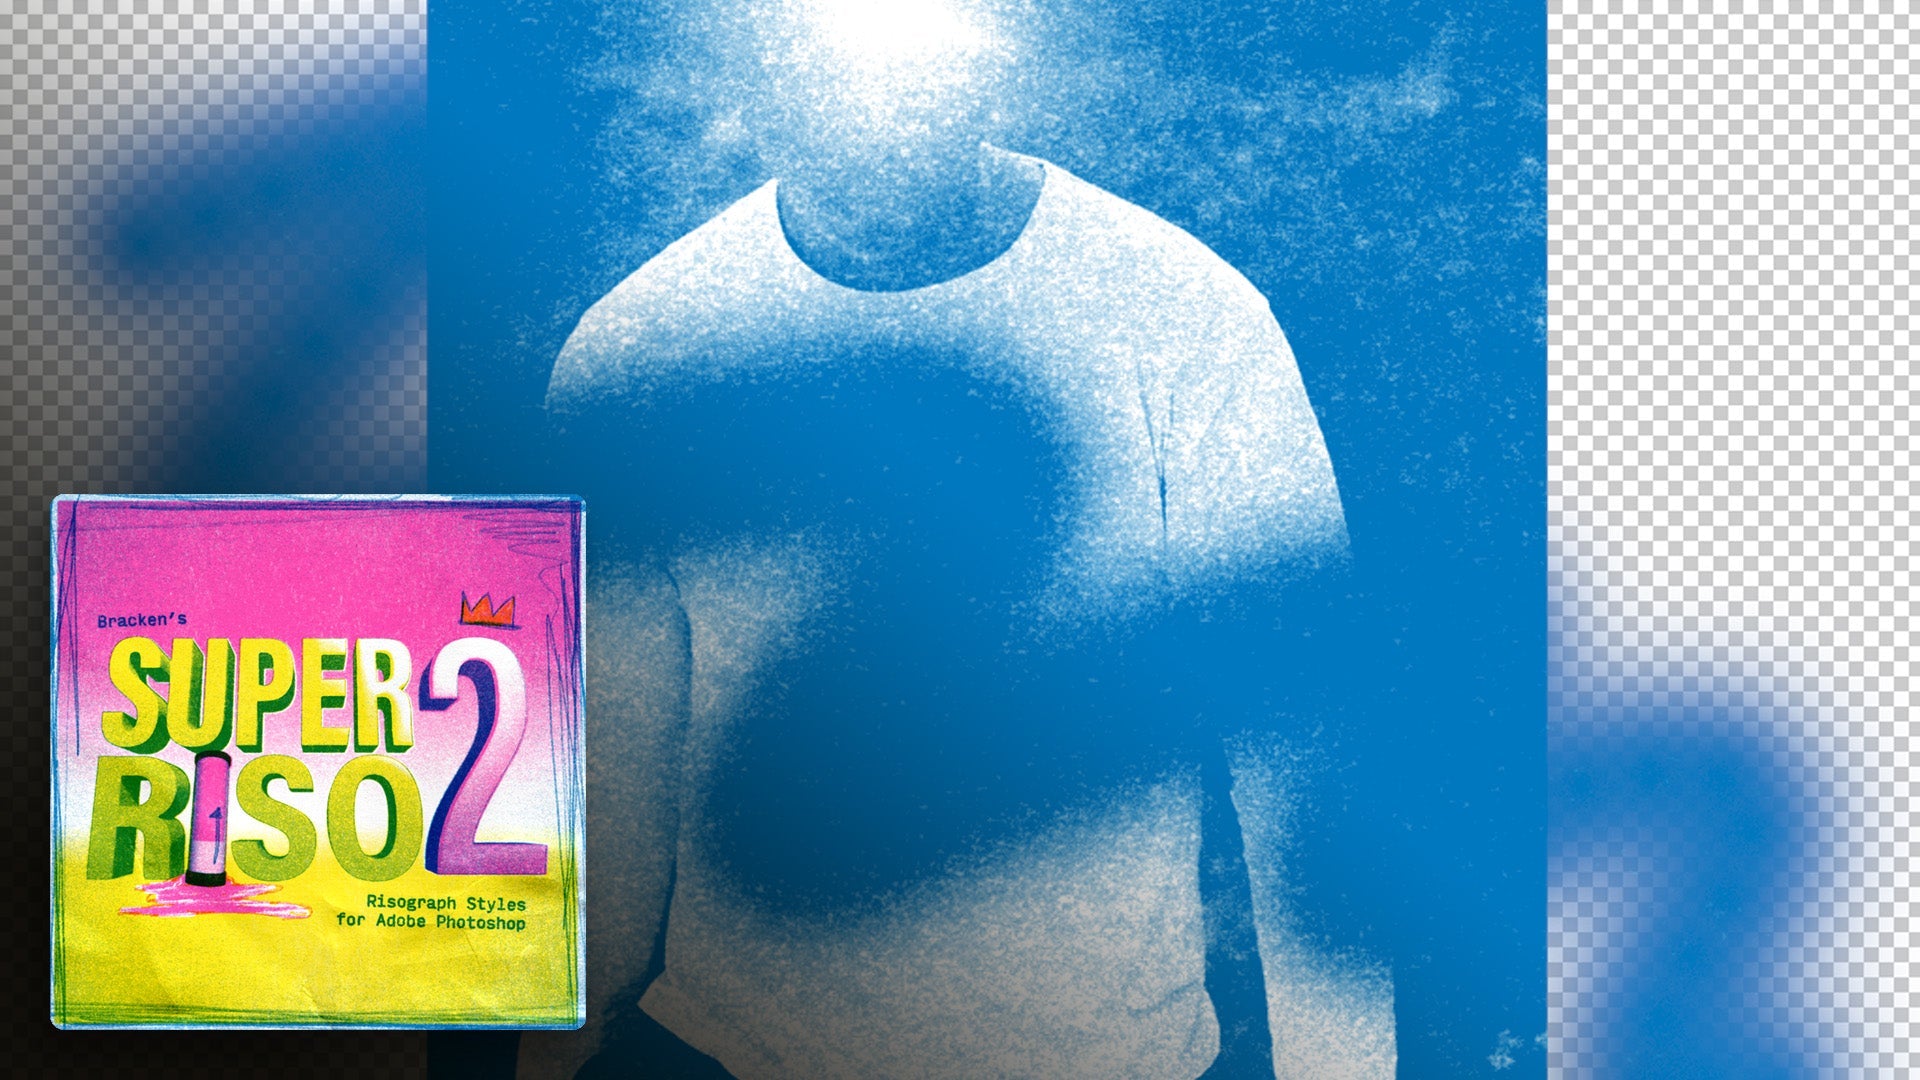
The purpose of this process is to enhance the contrast of your artwork.
-
This is achieved by creating a contrast adjustment layer above your artwork.
2. Observing the Effect of Contrast 0:08
-
Turning off the adjustment layer shows a more contrasty image.
-
The patterns applied with Super Riso work better when values are not close to 100% white or black.
3. Analysing Gradient Values 0:20
-
Example: A gradient on the left shows blown-out whites and solid blacks.
-
Turning off the ink overlay reveals that the black is just 100% colour.
4. Applying the Contrast Adjustment 0:31
-
Use a brightness and contrast adjustment layer with 'Use Legacy' checked for better results.
-
This adjustment helps restore values in light areas and adds texture in dark areas.
5. Default Settings and Customization 0:51
-
The action automatically sets the contrast to -30.
-
Lowering the value further increases the range of values but may introduce texture in the white areas.
6. Experimentation and Final Thoughts 1:10
-
While -30 is a good starting point, feel free to tweak the settings.
-
This adjustment is a quick way to change the brightness of the entire layer and enhance the overall artwork.