Transcript
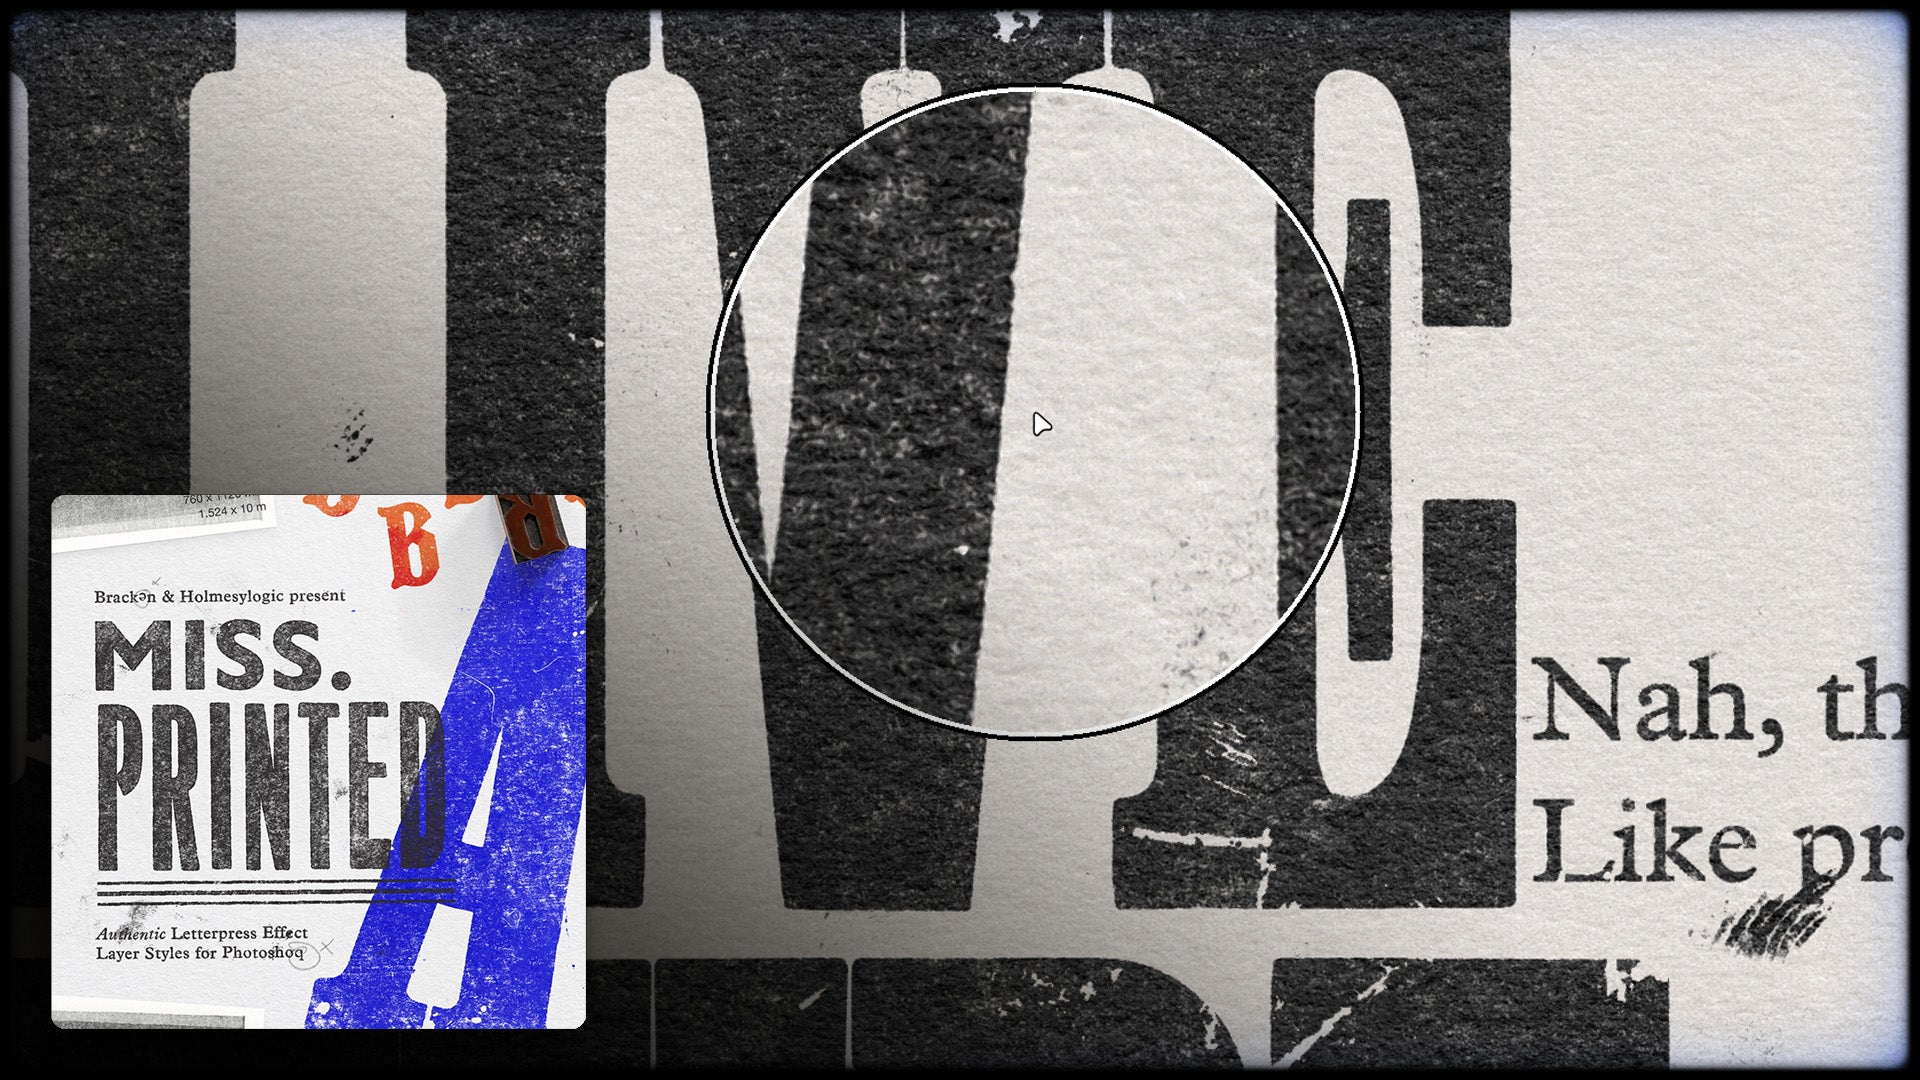
Included with misprinted we have these lovely ink overlay patterns. They come as patterns and textures but I'm going to show you as patterns because we can move them around more freely.
So what I'm going to do is just go down to my adjustment layer and click pattern and then navigate to one of my ink overlays and select it.
And when this dialog box is empty, We can click on our artboard and move it around and also change the scale and the angle of our pattern.
But I'm just going to click ok to come out of this for now. And we just have our texture or our pattern above everything.
So what I'm going to do is I'm going to clip this down here in alt or option or right click and do create clipping mask and make sure it's clipped onto the colour, which is then clipped onto the green. And it's just giving us this black and white, kind of inky, mottled ink look.
And that's fine, but we want it to play with some of the colours that we've to it as well. And to do this, we can just go and play about different blending modes.
Now, because these are made with black and white and grey values, they play really well with any of these contrast blending modes: overlay, soft light, hard light, all of these lovely things. So, just have a little look through. See which ones look nice.
Something like overlay and soft light look nice, but their power, or how effective they are, is kind of dependent on the colour below.
So, as we go to change this, we'll see the effect of this ink overlay is more prominent on the lighter colours or colours that are kind of in the mid-tone range.
So, have a little play. Clip these to it. Remember, when we double click on this thumbnail, it'll open up this pattern fill box and as long as this is open, we can click and drag and move this around.
And this is nice because we can kind of utilise some of these edges and just kind of line things up if we want, as if we've rolled over this with a sandpaper.
And we can go and select our other ones. This is more of a square texture. Again, we can go in here to the scale, reduce this down 50%.
We might see some kind of crazy things happening, but maybe that's what we want. We can go in here and do something extreme like change it to difference or exclusion.
And these are really fun, especially difference, because we start to get some of these quite ugly but quite fun colours in between.