1. Understanding Layer Styles 0:01
-
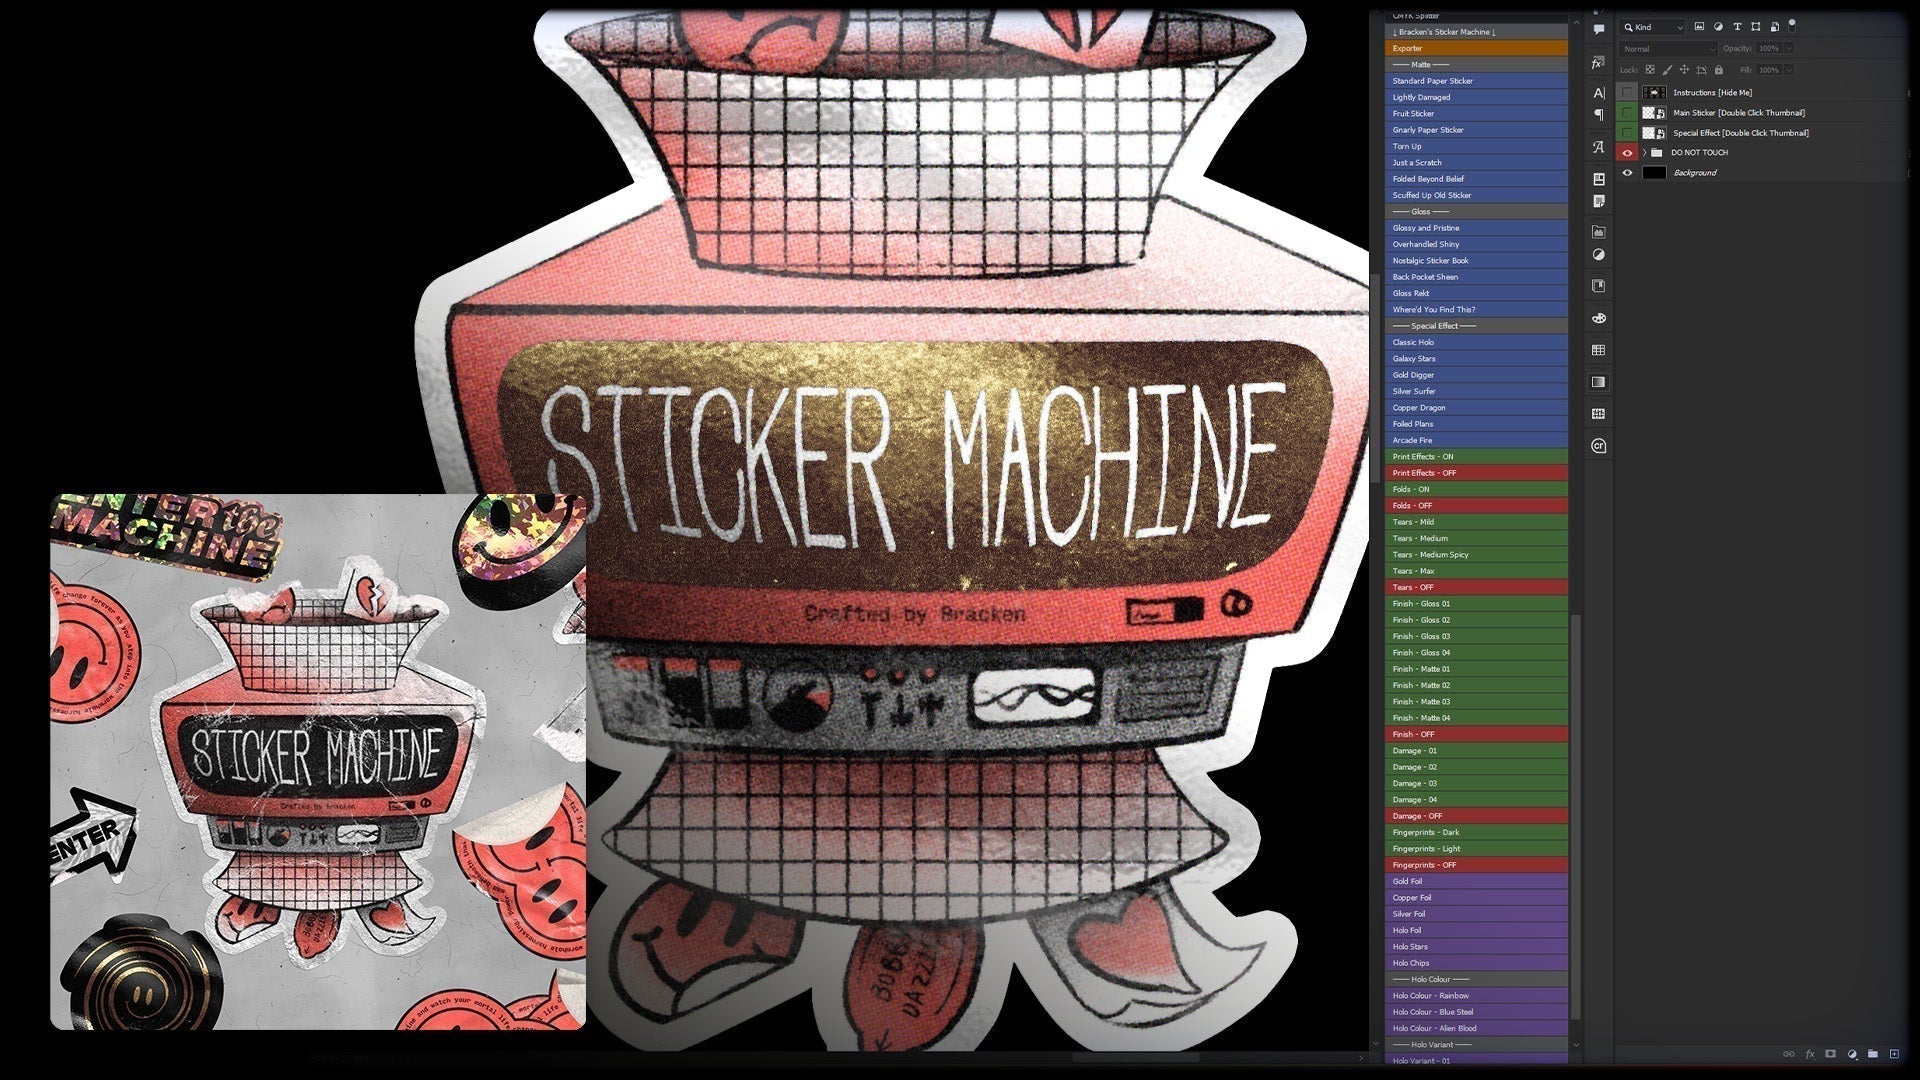
The Printed Textures pack includes layer styles.
-
Initially, the layer styles may appear as invisible blank squares due to transparency.
-
To view them properly, adjust your menu settings to 'large list' or any list option.
2. Identifying Layer Styles 0:27
-
Confirm that one layer style is 'No Style' and the other is 'Transparent Clipping Layer.'
-
'Transparent Clipping Layer' is the effect and 'No Style' acts as a reset, removing any layer styles.
3. Clipping a Texture to Text 0:36
-
Select your text and the desired printed texture.
-
To clip the texture to the text, hold 'Alt' (or 'Option') and click between the layers.
4. Adjusting Opacity and Fill 1:00
-
After clipping, you may notice the text is still visible.
-
Reducing opacity or fill affects both layers, which isn't what we want.
-
These next steps are an example of what the layer style is doing
-
5. Using Blend Options for Layer Styles 1:19
-
Right-click on the layer and select 'Blend Options.'
-
Set 'Fill Opacity' to 0 and uncheck 'Blend Clipped Layers as Group.'
-
Click 'OK' to apply changes.
6. Finalizing the Texture Appearance 1:41
-
The text will now be invisible, showcasing only the clipped texture.
-
This method keeps the texture editable and live.
7. Simplifying the Process with Layer Styles 2:07
-
The purpose of including layer styles in the pack is to simplify the process.
-
Instead of manually adjusting blend options, you can click the layer style for quick application.